

Today we’re going to replace our cloud storage on our mobile and desktop devices with Seafile, inside of docker-compose, to run at home. Why? In a time where I am increasingly concerned with data security, it behooves me to consider who is able to view my personal content. I don’t like the idea of making it easier for any company to review my personal life like I live in some sort of digital fishbowl.
Seafile empowers me to store my data where I please, over the network methods I choose, and this article is an explanation of how it can be done, so you can employ it yourself.
What are we doing today?
Here’s a rundown of what we’ll be doing (largely in the Setup section):
- Configure ZeroTier on a server and at least one client
- Configure Docker & docker-compose on the server
- Install and configure a docker-compose.yml for Seafile, bound to our zerotier interface
- Initialize and configure the Seafile instance (over ZeroTier!)
- Finally, configure a client to run ZeroTier and Seafile client, synchronizing files over the network.
Services
This section describes the various services we are deploying. Please be advised that other than Seafile itself, and ZeroTier, most techniques/technologies are interchangeable with other similar stuff. Like, you can set up Seafile on the Cloud, you can use a VM to deploy to instead of using docker-compose. These change the narrative only slightly.
If you want to skip this section because you know this stuff really well; we are deploying to a Ryzen 2700X running atop a zpool with about 24TB of storage spread across 6 disks in a docker-compose setup on the metal.
docker-compose is used to create the stack
As mentioned already, we will use docker-compose to install, manage, and configure our Seafile instance. The link in the text will take you to recent installation instructions (they tend to change often).
Seafile is a Dropbox you maintain yourself
Seafile is a file synchronization and sharing tool used to manage data in a way similar to Dropbox, Nextcloud, and iCloud storage. Seafile has a few features atop from basic file sync:
- Encrypted Folders
- Efficient and fast storage of content: my 1Gbps
link is handily saturated by Seafile with the zpool backing it; something Nextcloud could never seem to accomplish.
- Photos sync
We will be using the Seafile Docker images, which are located here. Note the name is not seafile, it is seafileltd/seafile-mc.
Other options instead of Seafile
As may be obvious, Seafile is a nice tool in the UNIX tradition that “does one thing and does it well”. It does file sync. It does that well! It does not do much else.
If you’re looking for “office” features like Calendaring, Instant Messenger, Contacts, etc, you may prefer Nextcloud or Owncloud; aside from a place to store the data — the location and creation of which is explained later in this article — setting this up instead of Seafile is largely left as an exercise for the reader.
That said, what you mainly need to do to continue along with this article is to configure your docker-compose.yml (or similar container commands) to forward ports from the bound IPs of the network member interfaces ZeroTier creates. If this is not quite clear yet, please, read on for more understanding.
Storage
For storage, we are using 6x 4T Seagate Ironwolf Pro drives, in a raidz1 ZFS zpool configuration. The zpool just provides a mountpoint and we take a slice of that and quota it, nothing fancy is done with volumes, etc.
ZeroTier is a painless networking solution for penetrating NAT
ZeroTier allows us to penetrate NAT between our server, and, well, practically anywhere (mars might still be a challenge). This allows us to use it on our phones in a secure way. We can synchronize photos from anywhere at any time and they will go right back to home base and land on storage we know is spinning on electricity we pay for.
You can install it here.
Ensure ZeroTier starts with your system(s) and runs on the host
So, for most of this demo to work, especially on a desktop, you’re going to want to ensure that ZeroTier starts on boot.
This is pretty easy:
– On Linux, it happens at
curl https://install.zerotier.com/ | sudo bash time
if you’re using systemd. (You should be using systemd.)
– On Windows, press Cmd+R and type in
shell:startup
which will open a File Manager window. You can then copy the ZeroTier shortcut into this folder and ZeroTier will start on boot.
For mobile devices, you will want to ensure that either your sync only happens when connected to the ZeroTier network. We cover this in the configuration section, as it’s a more complicated topic.
zeronsd is a DNS solution for ZeroTier
(optional, but useful)
**zeronsd is a DNS solution for ZeroTier that adds names to your ZeroTier network. You will want/need it to provide easy-to-remember names for your Seafile service, among other services you may wish to host on that network.
For Linux users to take advantage of zeronsd, they also need to leverage another package called zerotier-systemd-manager along with systemd-networkd to provide a complete DNS experience. Other systems already come with the nuts and bolts necessary.
Setup
This section covers the installation & configuration of the services.
Configure storage
Just to be clear; if you are using cloud storage, just use the attached storage. There’s little point in going beyond ext4 on those systems since they have their own backend redundancy defined for you. If you want to follow along, just mount your EBS or similar provisioned device at /zpool, and you’re caught up.
This creates a raidz1 that spans 6 drives:
sudo zpool create -m /zpool zpool raidz1 sda sdb sdc sdd sde sdf
Once you’ve verified /zpool is created and holds your ZFS root volume:
sudo mkdir -p /zpool/seafile/data
Create and join a ZeroTier network on the Seafile server
Install ZeroTier and create a Central account
First, if you have not already: go to central.zerotier.com and create an account. It will be important soon and will be the most complicated part of our interaction with ZeroTier itself. It’s pretty simple. 🙂
Download ZeroTier and install it for your platform — or, for those of you who are on UNIX-alike machines:
curl -sSL install.www.zerotier.com | sudo bash
Will work too.
After creating the network, we need to start our client on the server and ideally at least one “client” user that will add files to Seafile. Once doing this then the two machines will be joined no matter what networks they are on, at a Layer 2 networking capacity. ARP is managed securely by our VL1/VL2 architecture (you can read more about that here), so no worries about talking to the wrong host at that level.
To join the network, we first need to obtain the member IDs of the clients; this can be accomplished by running sudo zerotier-cli info on UNIX machines or checking inside the GUI for Windows/Mac. This is a 10 digit hexadecimal number you should make a note of. ZeroTier refers to this as your “identity”: if it changes, you’re out.

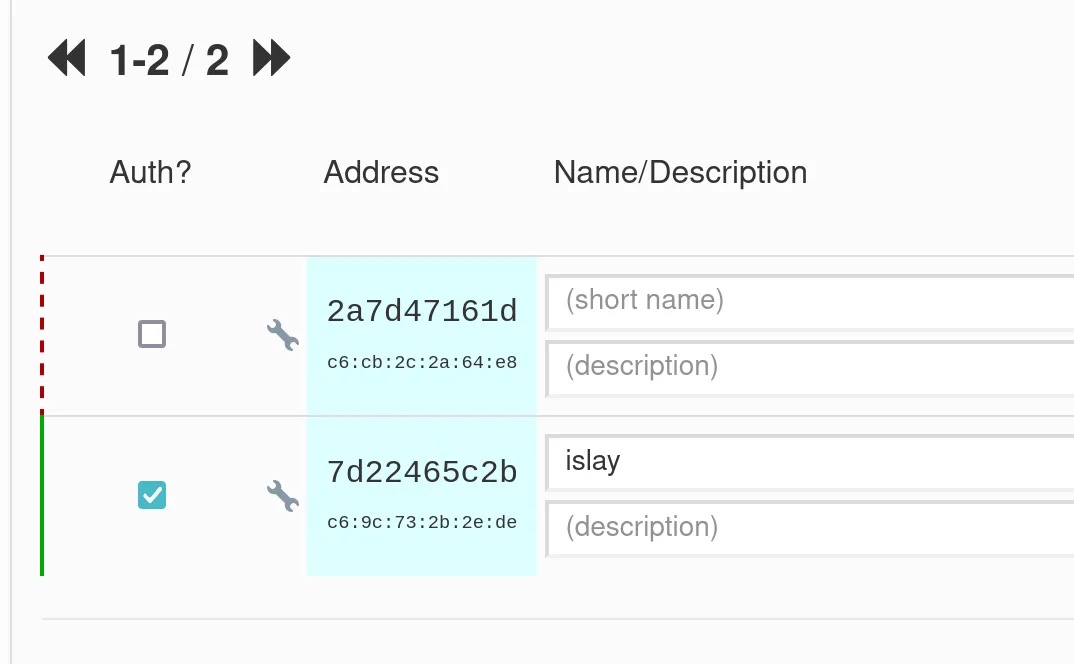
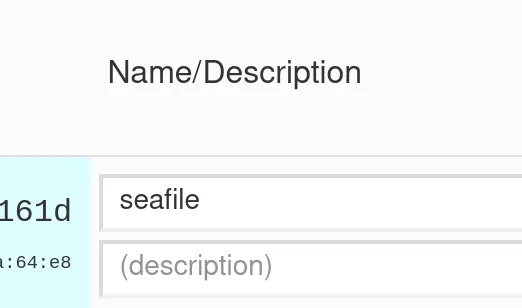
Create a network, join two machines to the network by using zerotier-cli join or the GUI interface. You will need to authorize them in Central if your network is “private” (the default). You can accomplish this by checking the box as the identity shows up in the network screen’s list of members.
On your server, you should make note of the IP address returned. It should be a standard, private IP address in the 10.x.x.x, 172.x.x.x, or 192.168.x.x IP namespaces. It will not change (unless you tell it to in Central), so you can rely on it.
You can do this with ip addr or sudo zerotier-cli listnetworks:

Install zeronsd on your server
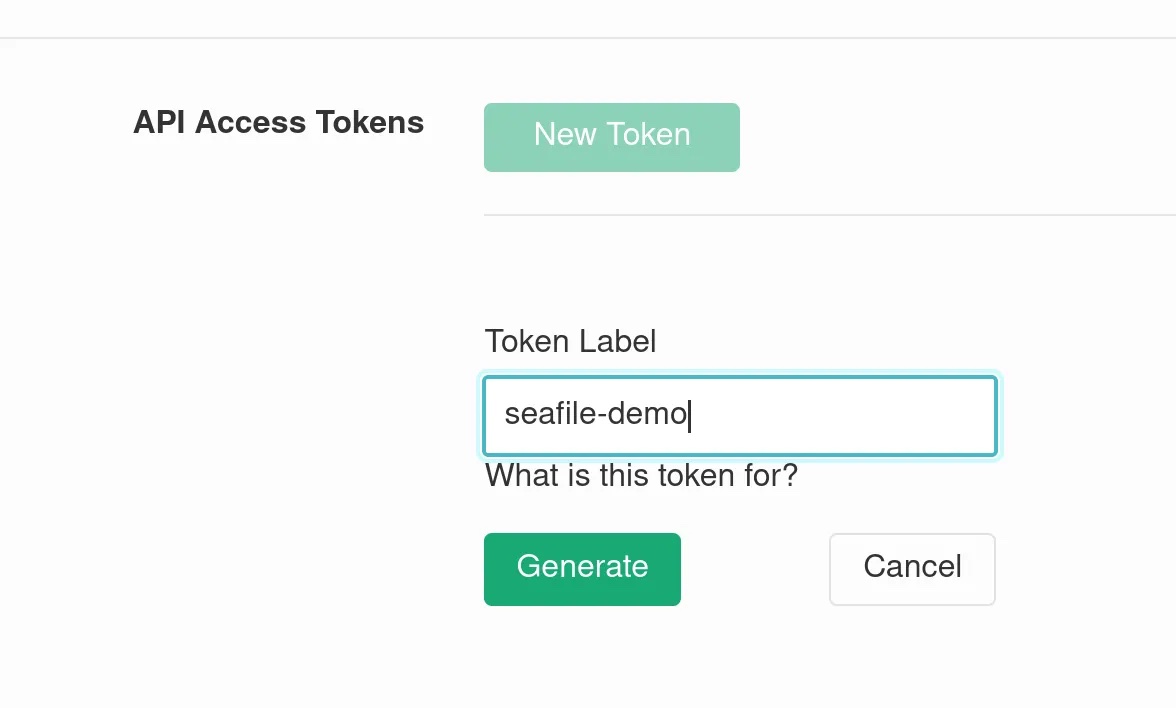
Get a release package and install it. Once you’ve done that, create a file with an API token and perform the following steps (a Quick start for zeronsd only is available) if you’re having trouble:
# if you want to use a different domain; supply the -d <domain> flag here, such as `-d zerotier`
sudo zeronsd supervise -t <token file> <network id>
sudo systemctl daemon-reload
sudo systemctl enable zeronsd-<network id>.service
sudo systemctl start zeronsd-<network id>.service
To get the API token, look for this dialog on your Account Page:
Once you do this, you can go back to ZeroTier Central, assign the name seafile to your identity for your server, and get seafile.domain to resolve to it automatically.
Install and configure Docker and docker-compose
Outside the scope of this document, but you can find more information here as well as here for docker-compose.
Configure docker-compose.yml
Using another service?
If you don’t want to use Seafile, you will need to find a way to configure your services. What is important here is that the IP you kept around, the one from the server’s ZeroTier member IP, is used to “bind” to by the service. This can usually be managed via the container runtime’s port forwarding facilities; if you wish you go without containers, you would solve this by finding the “listen” or “bind” parameter in your service’s configuration, and setting it to that IP address.
If any of this is confusing, it may be wise to start with the Seafile setup and transition to the package later. Seafile’s configuration is really a breeze in comparison to many other packages. Practice there, learn the techniques and take it to your harder-to-configure stack. 🙂
Seafile Setup
This is where the majority of the complexity lies: Seafile is a suite of containers that uses:
- Seafile itself
- memcached
- MariaDB
These 3 containers must run in concert; only Seafile needs to be exposed to the ZeroTier network, however.
To accomplish this, we can use this docker-compose.yml — be forewarned, it needs edits with that IP address you were storing before:
version: "2.0"
services:
  db:
    image: mariadb:10
    container_name: seafile-mysql
    environment:
      - MYSQL_ROOT_PASSWORD=seafile-root
      - MYSQL_LOG_CONSOLE=true
    volumes:
      - /zpool/seafile/data/seafile-mysql:/var/lib/mysql
    networks:
      - seafile-net
    restart: always

  memcached:
    image: memcached:latest
    container_name: seafile-memcached
    entrypoint: memcached -m 256
    networks:
      - seafile-net
    restart: always

  seafile:
    image: seafileltd/seafile-mc:latest
    container_name: seafile
    ports:
      # replace <your ip> with the IP given to your server by zerotier
      - "<your ip>:8080:8080"
      - "<your ip>:8082:8082"
      - "<your ip>:80:80"
    volumes:
      - /zpool/seafile/data/seafile-data:/shared
    environment:
      - SEAFILE_ADMIN_EMAIL=me@example.com
      - SEAFILE_ADMIN_PASSWORD=a_very_secret_password
      - DB_HOST=db
      - DB_ROOT_PASSWD=seafile-root
      - TIME_ZONE=America/Los_Angeles # Optional, default is UTC.
      - SEAFILE_SERVER_HOSTNAME=seafile.domain
    depends_on:
      - db
      - memcached
    networks:
      - seafile-net
    restart: always
networks:
  seafile-net:
Boot
To boot the service, it is advisable to first start it in the foreground, make sure it works, then cancel it and start it in the background so you no longer have to be attached. 🙂 Let’s do this:
cd into the directory containing your docker-compose.yml formulated from the above content, and run this command:
sudo docker-compose up
You should see something like this:
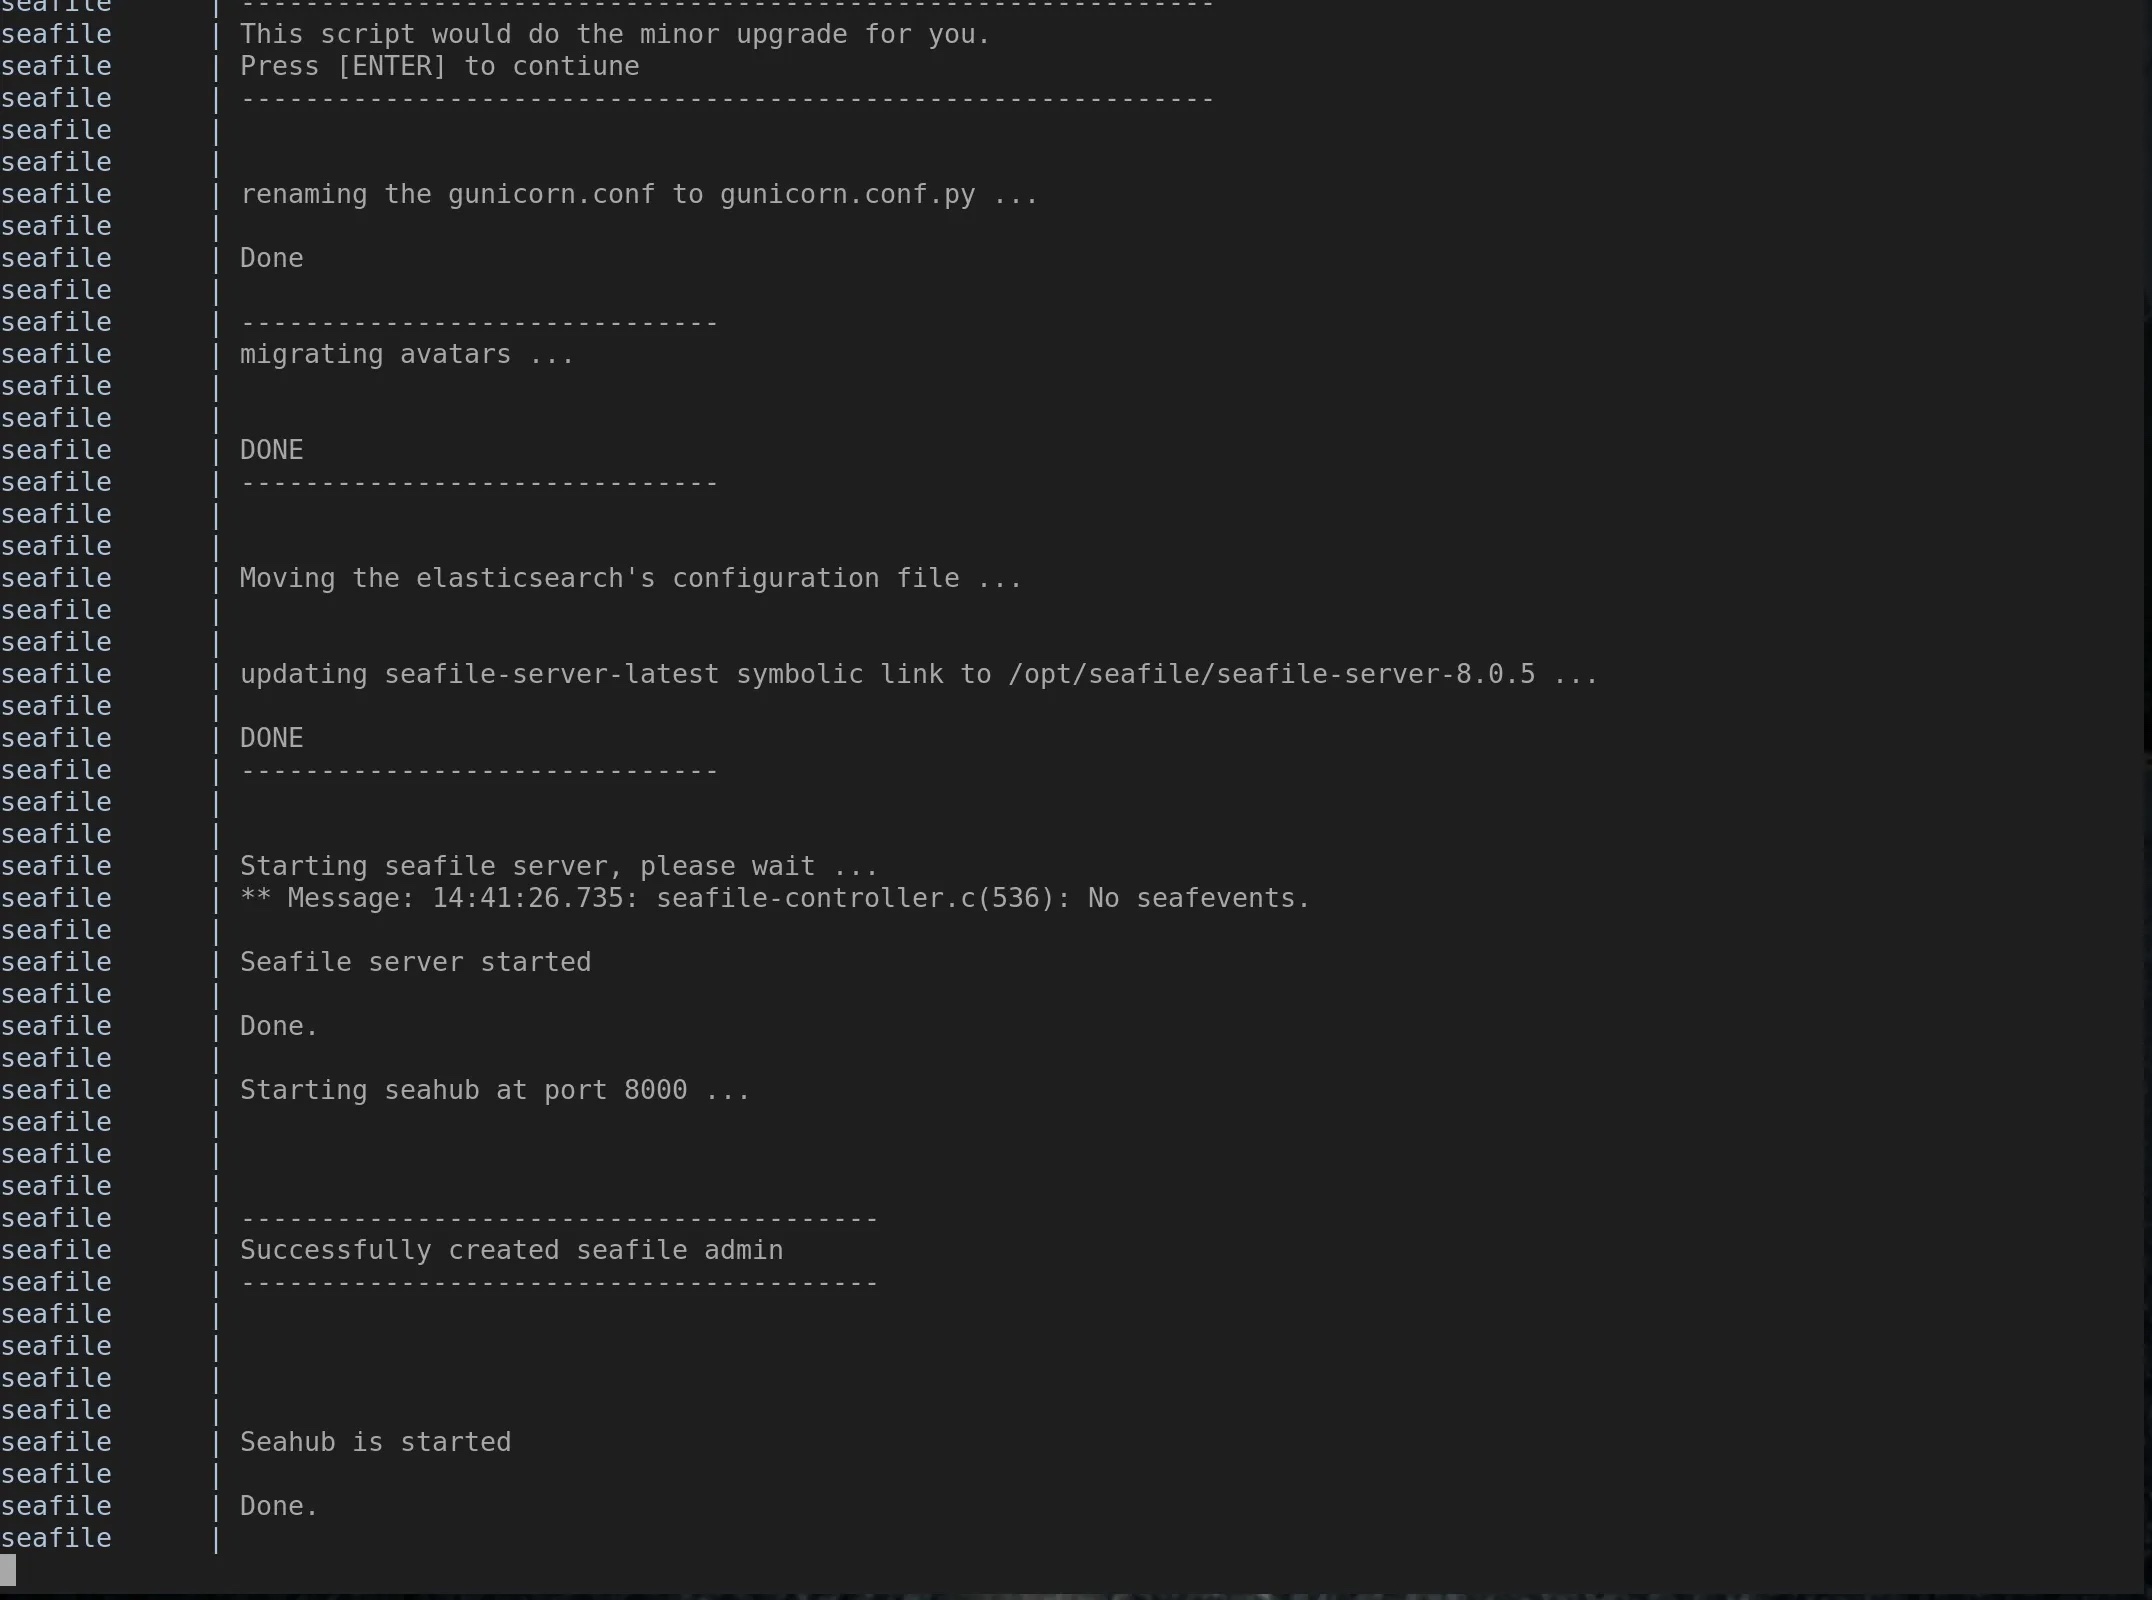
Once that has happened, Ctrl+C it and then run this:
sudo docker-compose up -d
It should (largely) take care of itself from here on.
Configuration
Some notes before diving in:
- The defaults want you going to https://seafile.domain, so unless you changed that, try hitting that with a browser.
- The manual is here.
- The admin username and password will come from the SEAFILE_ADMIN_EMAIL and SEAFILE_ADMIN_PASSWORD values in the docker-compose.yml.
Once going to https://seafile.domain you can see this dialog:
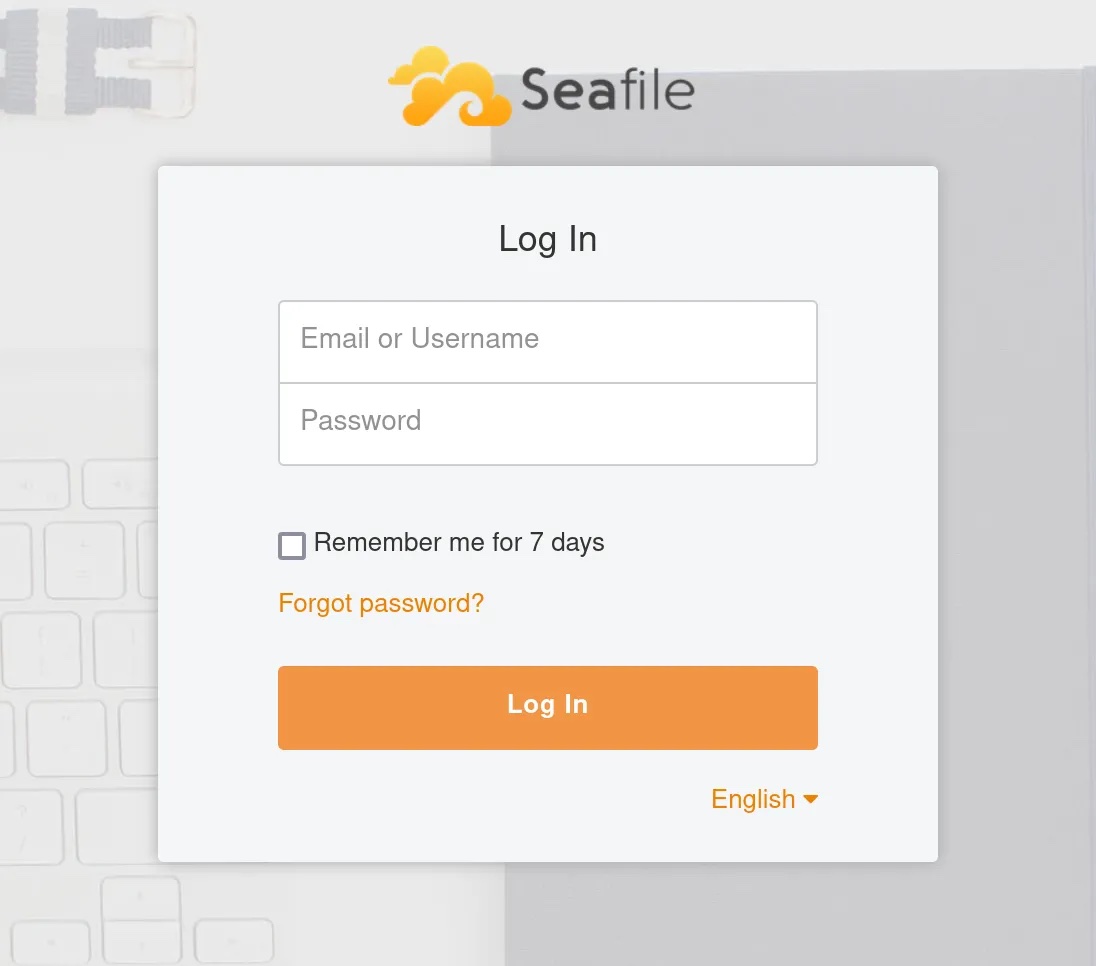
Login with me@example.com and a_very_secret_password or whatever you set the parameters above to. Once that works, you can start storing data; but if you’d like to create or administer users, the top-right icon, post-login, has what you need.
Install & Configure Seafile Clients
Configuring the clients is a big part of using Seafile, as you will need them to keep your local files and your files inside the service in sync.
Remember, none of this works properly if ZeroTier is not joined to the network with the allowDNS flag set on Windows and Mac, and zerotier-systemd-manager on Linux systems. Other systems without per-interface name resolution will need to use the IP address.
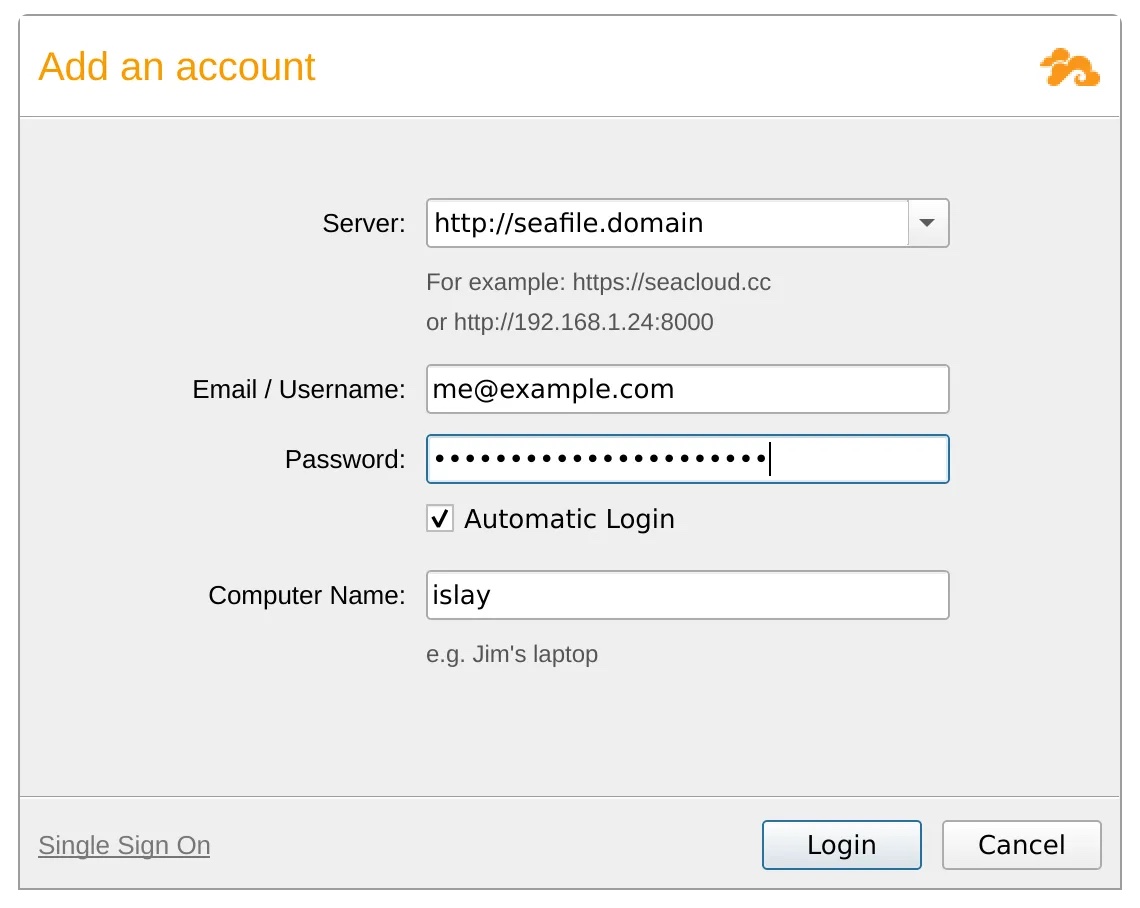
Download and install your client here. At this point, all you should need to do is configure a login for the client. Let these PNG files guide you!
Signing into Seafile through the client:
Signed in!
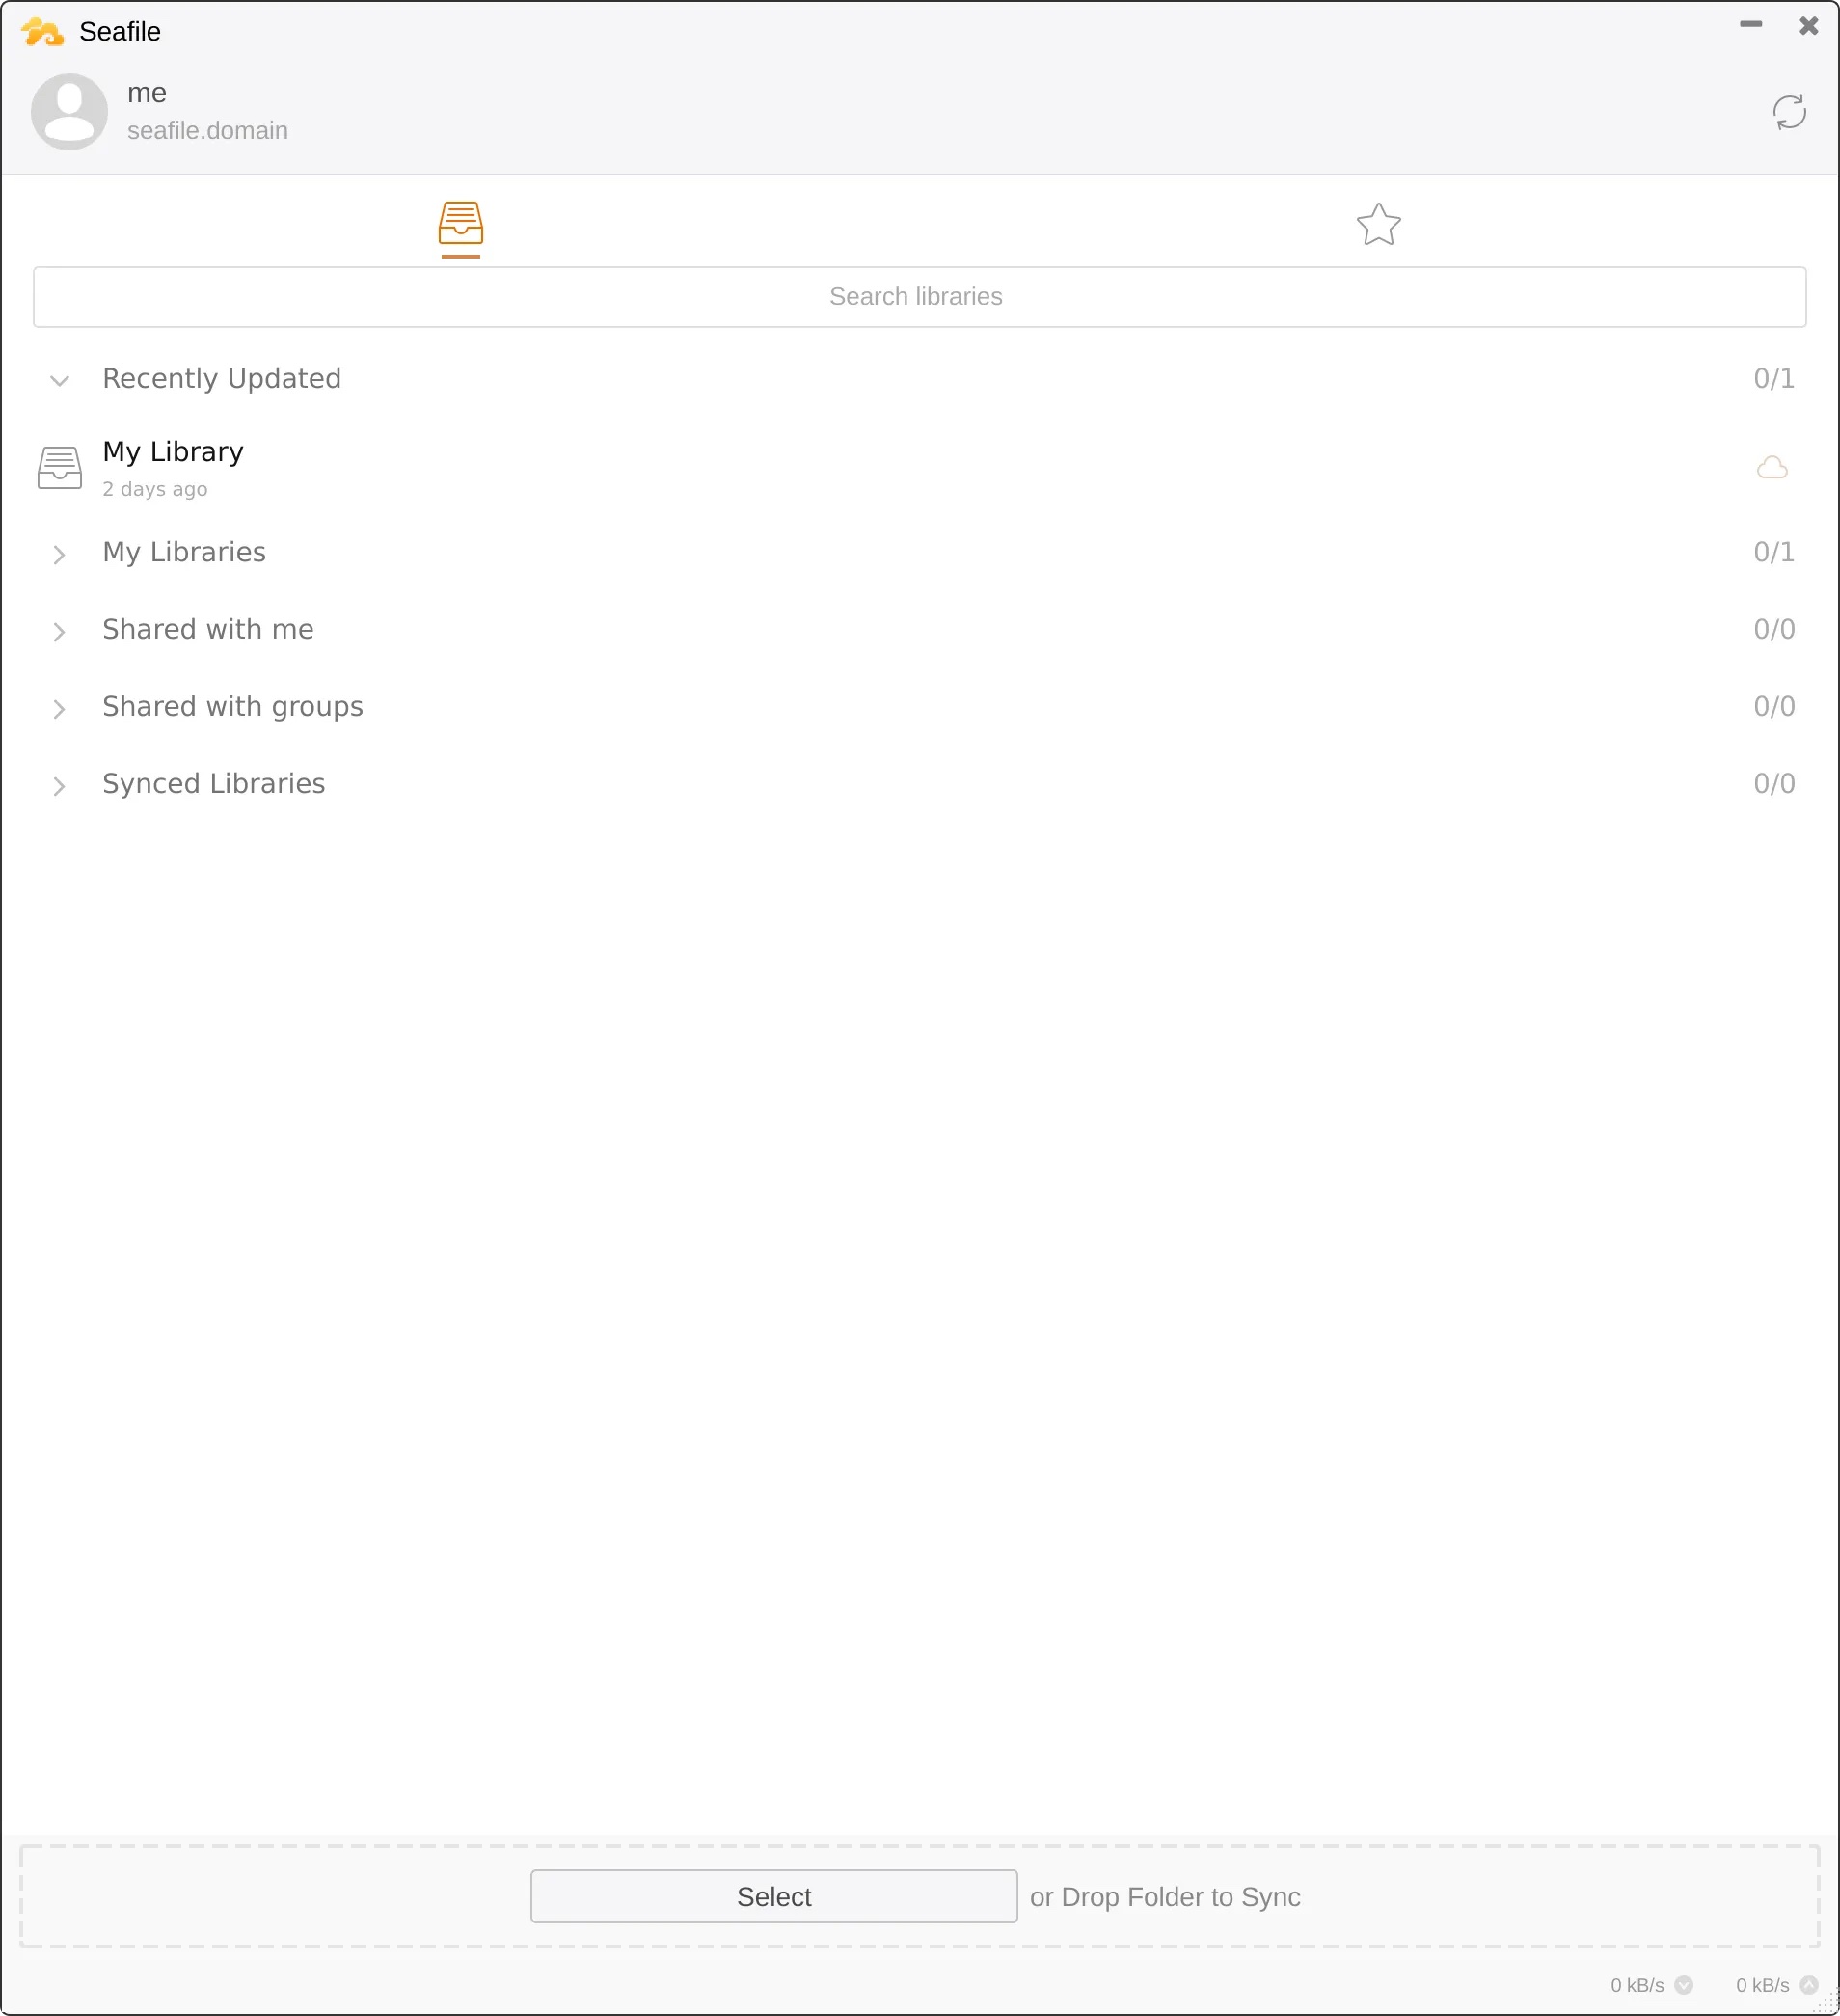
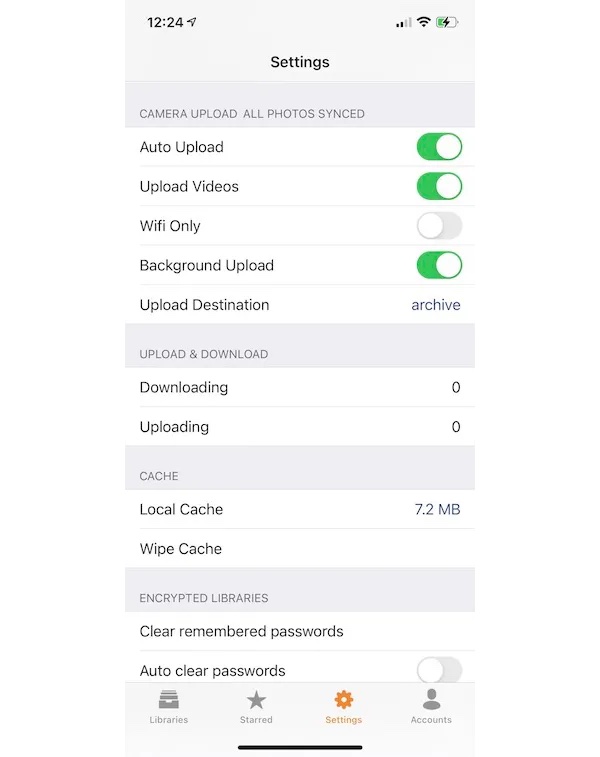
For setting up iOS image sync, it’s in the settings for the User account in the Seafile client.
All Done!
You should now be able to store files in your Seafile, connect to it with other clients on the same login, and enjoy the power of file sharing without any of the privacy concerns!
Have any questions or comments about this how-to? Join the conversation on our Community Board.